Working as a plotter, pantser, or plantser are all legitimate approaches to writing. However, creating an outline for your novel—even a small one—can be helpful at any stage of the process and to every type of writer. You may find that outlining your novel beforehand makes your daily writing habit easier to maintain. Or perhaps you prefer to finish your first draft, then create an outline to help you edit your book.
There are a lot of pros to creating an outline for your novel. However, plotting out an entire book may still seem like a mysterious process, so we’re here to help. Read on to learn how to create a rock-solid outline for your novel with just 3 simple steps!
What is a novel outline?
First, what is a novel outline? When you outline your novel, you plan anything from your book’s plot and structure to scenes and characters, or very often, a combination of them all. If your novel is a house, your outline is the blueprint.
What are the different types of outline?
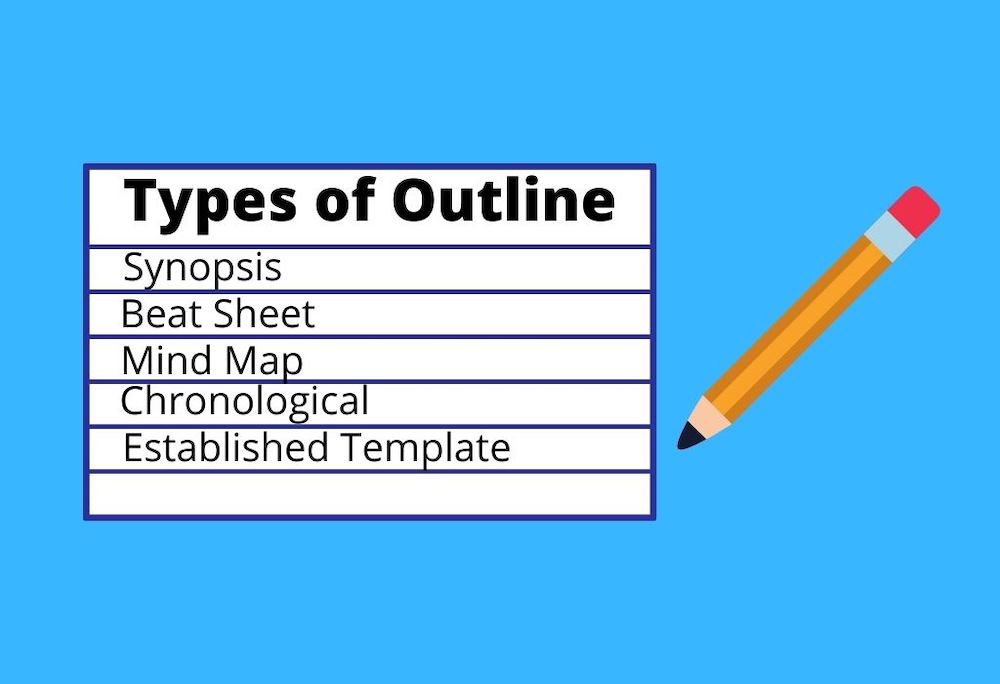
There’s no one way to create an outline for your novel. Every writer is different, and the same outline structure doesn’t work for everyone. Here are a few types of novel outlines you can consider:
- Synopsis: Sometimes creating an outline for your novel is as simple as writing down a short synopsis of the story’s plots, main conflicts, and characters. Try to keep it as short as possible (preferably one or two pages).
Knowing how to write a synopsis is a useful skill as you’ll need one if you decide to pitch your book to agents and publishers later. A synopsis also forces you to focus on what is essential to your plot. This can be helpful in the editing process when you’re figuring out what to cut and what to keep.
Not sure where to start with a synopsis? Check out J.K. Rowling’s original synopsis for Harry Potter and the Sorcerer’s Stone!
- Beat sheet: A beat sheet breaks down a novel into three sections: beginning, middle, and end. Each section contains a number of beats, or plot points, written in short, concise sentences. For an excellent beat sheet example, look to Save the Cat! Writes a Novel.
- Chronological: Some writers need to see their book in a more linear form to figure it out. This is where using a chronological outline for your novel can come in handy. Simply list the events happening before, during, and after your book. You can include details about the setting, scene, time of year, which characters are present, and so on. It’s a great way to keep track of who knows what and who is where and when.
- Mind map: A mind map is a visual representation of the ideas in your book and how they relate to one another. While the name does imply it’s all in your head, a mind map is put down on paper as a central topic in the middle with lines connecting it to other concepts and ideas in the book. A great approach to this type of outline for your novel is to use index cards, so you can easily rearrange ideas and concepts around the central point.
- Established template: Using an established template can simplify outlining your novel. There are a few common story templates you can consider. With the Hero’s Journey, you plot your story around your main character’s departure, descent, and return to the “real world” (i.e., the status quo). The Three-Act structure involves breaking your story down into three main acts: set-up, rising action, and resolution. Or consider the Five-Act structure: introduction, rising movement, climax, falling action, and catastrophe.
Tip: Sign up to receive updates for this blog and bookmark this page. We’ll be examining the above-mentioned templates in more detail in the future.
What are the pros and cons of creating an outline for your novel?

While an outline can be helpful to any type of writer, they might not work for everyone. Before you decide to outline your novel, here are a few pros and cons to consider.
Pros:
- Helps you visualise the big picture of your book.
- Serves as a map to keep you on track with your narrative.
- You avoid confusing the order of your scenes, or forgetting what goes where.
- Helps you to create believable character arcs.
- Helps you to avoid writer’s block as you’re less likely to get stuck on the plot
- Easier to identify the most important themes, characters, and plot points of your story, and find links between them throughout the book.
o Likewise, by identifying the not-so-important aspects, the outline is useful for streamlining the book during editing.
- Allows you to keep track of details and ensure they are consistent, or that any changes to the look and feel of characters and places are logical and explained.
- Helps pantsers to see where the book is well developed and where more work is needed.
- For people who struggle with plot development, following an established outline is a good way to inspire exciting plot beats at the right moments.
Cons:
- Can sometimes make the writer feel stifled or restricted
- If followed too closely, it can create a stilted, formulaic narrative
- Can sometimes cause characters to make inauthentic choices. When you are determined to follow preplanned plot points, it’s hard to let the characters react organically and in real time.
How to create an outline for your novel

Now that you understand the different types of outlines and the pros and cons of creating an outline for your novel, it’s time to get started!
(To be clear, if you’re ready to outline your novel you should already know your book’s genre, as well as the theme, setting, and characters. If not, take some time to figure these out before you begin outlining.)
Step 1: Construct a timeline
The first step in your outlining process should be to figure out the timeline of your book. Will it be a generational novel spanning many years? Or does it take place in a short amount of time—maybe a few days or weeks? At what point in time does the book begin? When does it end?
To answer these questions, create a column where you can jot down time markers for important events. Let’s go back to Harry Potter as an example. Take a look at J.K. Rowling’s handwritten outline for Harry Potter and the Order of the Phoenix. The first column on the left is titled Time and is dedicated to listing the months of the year in chronological order as events happen. Using this method, Rowling was later able to list plot and sub-plot points alongside the timeline to help keep the story in order.
Step 2: Create chapters
Once you have a fairly good idea of your book’s timeline, dividing it into chapters should be the next step in outlining your novel.
Breaking your story into chapters will help you to both flesh out the story and make sure the action is well-divided throughout the book. In the column next to your timeline, list the chapter numbers. In the next column, jot down the goals you’d like to achieve in each chapter. This can include anything from introducing an important character to having someone discover the murder weapon.
So, for example, Chapter 4 of Harry Potter and the Sorcerer’s Stone might look something like this:
Time: July
Chapter 4: The Keeper of the Keys
- Introduce Hagrid
- Harry learns his uncle and aunt have lied to him. Harry is a wizard and his parents didn’t die in a car crash—they were killed by the evil wizard Voldemort.
- Hagrid takes Harry to go with him to Hogwarts.
Creating these bullet points will help you better understand how long each chapter needs to be and where you need to bulk up or pull back on the action.
Step 3: Check for gaps
Now that you have a basic outline, the next step to creating a rock-solid outline for your novel is to go back and look for gaps. These can be inconsistencies in the form of chronological gaps or dramatic gaps.
A chronological gap can happen when a story jumps around suddenly in time or has an inconsistent timeline. It may be confusing for a reader to read about a character shivering in the snow one minute and sweating at the beach the next. While it’s sometimes necessary to have huge periods of time go by without anything of note happening to your characters, try to keep these to a minimum and make sure your reader understands that time has passed.
For example, in Harry Potter, it would be incredibly boring if J.K. Rowling detailed every single day of Harry’s school year at Hogwarts. Instead, she describes changes in weather or uses holidays like Halloween and Christmas to convey that time has skipped forwards.
A dramatic gap happens if there’s a decrease in tension in your story where there shouldn’t be. Go back and read through your chapter bullet points. Are entire chapters going by with nothing exciting happening? Maybe you need to cut those chapters to bring the tension forward. Is all your action occurring at the middle of the book, but tapering off before and after? Maybe you need to spread it out more.
Think of tension in your novel as a line on a graph. It should gradually increase over the course of your book as you near the climax in the final act. So, while tension may be low in earlier chapters, it should ramp up from chapter to chapter until you reach the resolution at the end of the book.
Done outlining? Start writing!
It’s easy to fall into the safe routine of tweaking and adding to the outline of your novel indefinitely. After all, the writing process can be the most intimidating part of it all! But once you’ve completed these three steps, it’s time to start writing. Find a writing group who can hold you accountable for a daily word count, or set a few writing resolutions to keep you motivated.
And if you feel you need a little help creating an outline for your novel, staying on track with your daily writing, or just want to brainstorm, check out The Open Book Editor’s author coaching services. We can help you do all that and more, so you’re ready to tackle your book with confidence.